








how to cut tin cans
author: Chen
2025-07-07
How to Cut Tin Cans: A Comprehensive Guide (Including Insights into How Tin Cans Are Made)
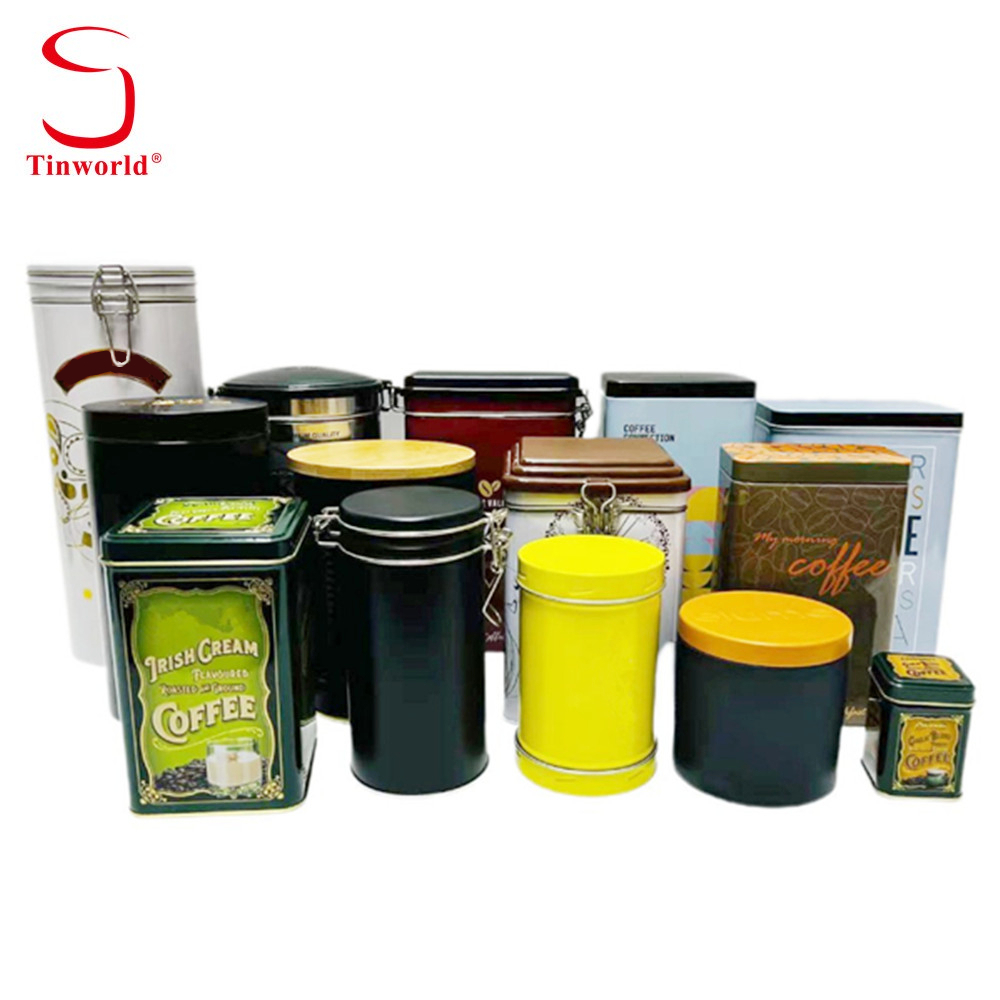


Tin cans are versatile items that find their way into countless households, holding everything from coffee beans and tea to nuts and spices. But once emptied, they don’t have to end up in the trash. With a little know - how, you can cut tin cans into useful objects like planters, candle holders, or storage containers. To do this safely and effectively, it helps to first understand how tin cans are made.
How Tin Cans Are Made: A Brief Overview
Before diving into cutting, let’s take a look at the manufacturing process of tin cans, as this knowledge will inform how we approach cutting them.
The Basic Materials
Tin cans are not actually made entirely of tin. The main material is steel, which is strong and durable. A thin layer of tin is applied to the steel to prevent rusting, as tin is resistant to corrosion. This combination of steel and tin gives the can its name and its ability to protect the contents from spoilage.
The Manufacturing Steps
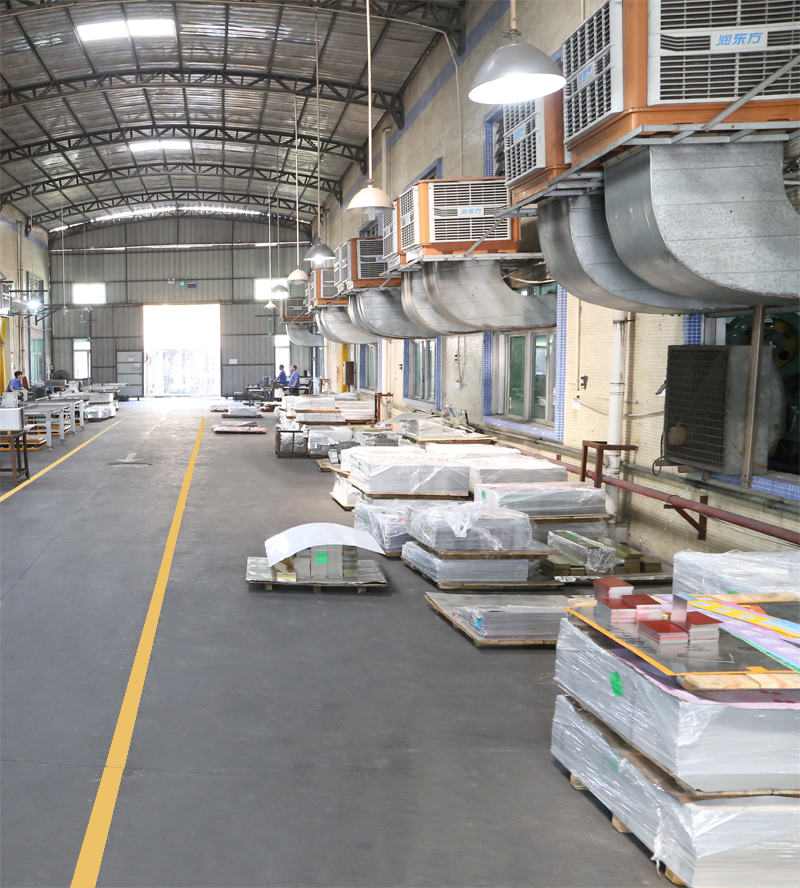
- Shearing the Steel: Large sheets of steel are cut into smaller, manageable pieces using powerful shearing machines. These pieces will eventually form the body and ends of the can.
- Forming the Body: The cut steel sheets are rolled into cylinders. The edges are then welded together to form a seamless tube, which becomes the main body of the can.
- Creating the Ends: Separate pieces of steel are stamped into the familiar circular ends of the can. One end typically has a pull - tab or a lid that can be sealed on.
- Tinning: The entire can, including the body and ends, is coated with a thin layer of tin. This is done through a process called electroplating, where the steel is submerged in a tin - rich solution and an electric current is passed through, causing the tin to adhere to the steel.
- Shaping and Sealing: The body of the can is shaped to its final form, often with a slight taper to make stacking easier. The ends are then attached to the body using a seaming process that creates an airtight seal, ensuring the contents stay fresh.
Now that we know how tin cans are constructed – with a steel core and a tin coating, and sealed ends – let’s move on to how to cut them.
Preparing to Cut a Tin Can
Cutting a tin can requires some preparation to ensure safety and success.
Gather the Necessary Tools
- Safety Gear: Always wear safety glasses to protect your eyes from flying metal debris. Work gloves will shield your hands from sharp edges, and closed - toe shoes are a must to prevent foot injuries.
- Cutting Tools: There are several tools you can use to cut tin cans. A pair of tin snips is a good choice for straight cuts. For more intricate cuts or curved lines, a Dremel tool with a metal - cutting blade works well. A utility knife can be used for scoring, but it’s not ideal for full cuts through the metal.
- Marking Tools: Use a permanent marker to draw the lines where you want to cut. A ruler or tape measure will help ensure straight and accurate marks.
- Stabilizing Tools: A vice or a pair of clamps can hold the tin can steady while you cut, making the process safer and more precise.
Prepare the Tin Can
- Empty and Clean the Can: First, make sure the can is completely empty. Rinse it out thoroughly with soap and water to remove any food residue. This not only keeps your workspace clean but also prevents any unwanted smells or bacteria from affecting your project.
- Remove the Label: Peel off the label from the can. If there’s any sticky residue left, you can use rubbing alcohol or a citrus - based cleaner to remove it. A clean surface makes it easier to mark your cutting lines.
- Dry the Can: Pat the can dry with a towel or let it air dry completely. Moisture can make the metal slippery, which is dangerous when cutting.
How to Cut a Tin Can: Step - by - Step Methods
There are a few different methods for cutting tin cans, depending on the type of cut you want and the tools you have available.
Method 1: Cutting with Tin Snips
Tin snips are designed for cutting thin metal, making them a great option for straight or slightly curved cuts in tin cans.
Step 1: Mark Your Cutting Line
Using a permanent marker and a ruler, draw a straight line around the can where you want to make the cut. Make sure the line is even and visible.
Step 2: Secure the Can
Clamp the can to a workbench or hold it steady in a vice. This prevents the can from moving while you cut, reducing the risk of injury.
Step 3: Start the Cut
Position the tin snips at the start of the marked line. Open the snips wide, then squeeze the handles together to make the first cut. Keep the snips as straight as possible along the line.
Step 4: Continue Cutting
Work your way along the marked line, making small, steady cuts with the tin snips. If the can starts to bend or warp, stop and readjust the clamps or your grip. For curved lines, gently turn the can as you cut, keeping the snips aligned with the curve.
Method 2: Cutting with a Dremel Tool
A Dremel tool is perfect for more complex cuts, such as shapes or intricate designs.
Step 1: Mark Your Design
Use a permanent marker to draw the desired shape or design on the can. For detailed designs, you can even print out a template and tape it to the can as a guide.
Step 2: Put on Safety Gear
In addition to safety glasses and gloves, it’s a good idea to wear a dust mask when using a Dremel tool, as it can create metal dust.
Step 3: Secure the Can
Hold the can firmly in a vice or clamp it to a workbench. The Dremel tool spins at high speeds, so a stable can is essential.
Step 4: Start Cutting
Insert a metal - cutting blade into the Dremel tool and turn it on to a medium speed. Slowly lower the blade onto the marked line and begin cutting. Move the tool steadily along the line, applying light pressure. Let the blade do the work – pushing too hard can cause the blade to bind or the can to warp.
Finishing Touches After Cutting
Once you’ve made your cut, there are a few final steps to take to make the tin can safe and ready for use.
Smooth the Edges
The cut edges of a tin can are extremely sharp and can cause serious cuts. Use a file or sandpaper to smooth out the edges. Start with a coarse sandpaper to remove any burrs, then switch to a finer sandpaper for a smooth finish.
Clean the Can Again
After cutting and smoothing, give the can another quick rinse to remove any metal dust or debris. Dry it thoroughly before using it for your project.
Customize as Desired
Now that you have a cut tin can, you can customize it to your liking. Paint it with acrylic paint, add decorative stickers, or punch holes in it for a unique design. The possibilities are endless!
Safety Tips for Cutting Tin Cans
- Always wear the appropriate safety gear – safety glasses, gloves, and closed - toe shoes are non - negotiable.
- Never rush the cutting process. Take your time to ensure accuracy and safety.
- Keep your workspace clean and organized. Cluttered workspaces increase the risk of accidents.
- If you’re using power tools like a Dremel, make sure you’re familiar with how to use them properly before starting. Read the user manual if necessary.
- Store your cutting tools in a safe place, out of reach of children.
By following these steps and safety tips, you can successfully cut tin cans and turn them into useful and creative projects. And now that you know a bit about how tin cans are made, you’ll have a better understanding of the material you’re working with, making your cutting tasks even more manageable.
a metal tin
are tin cans made of tin
Related Article
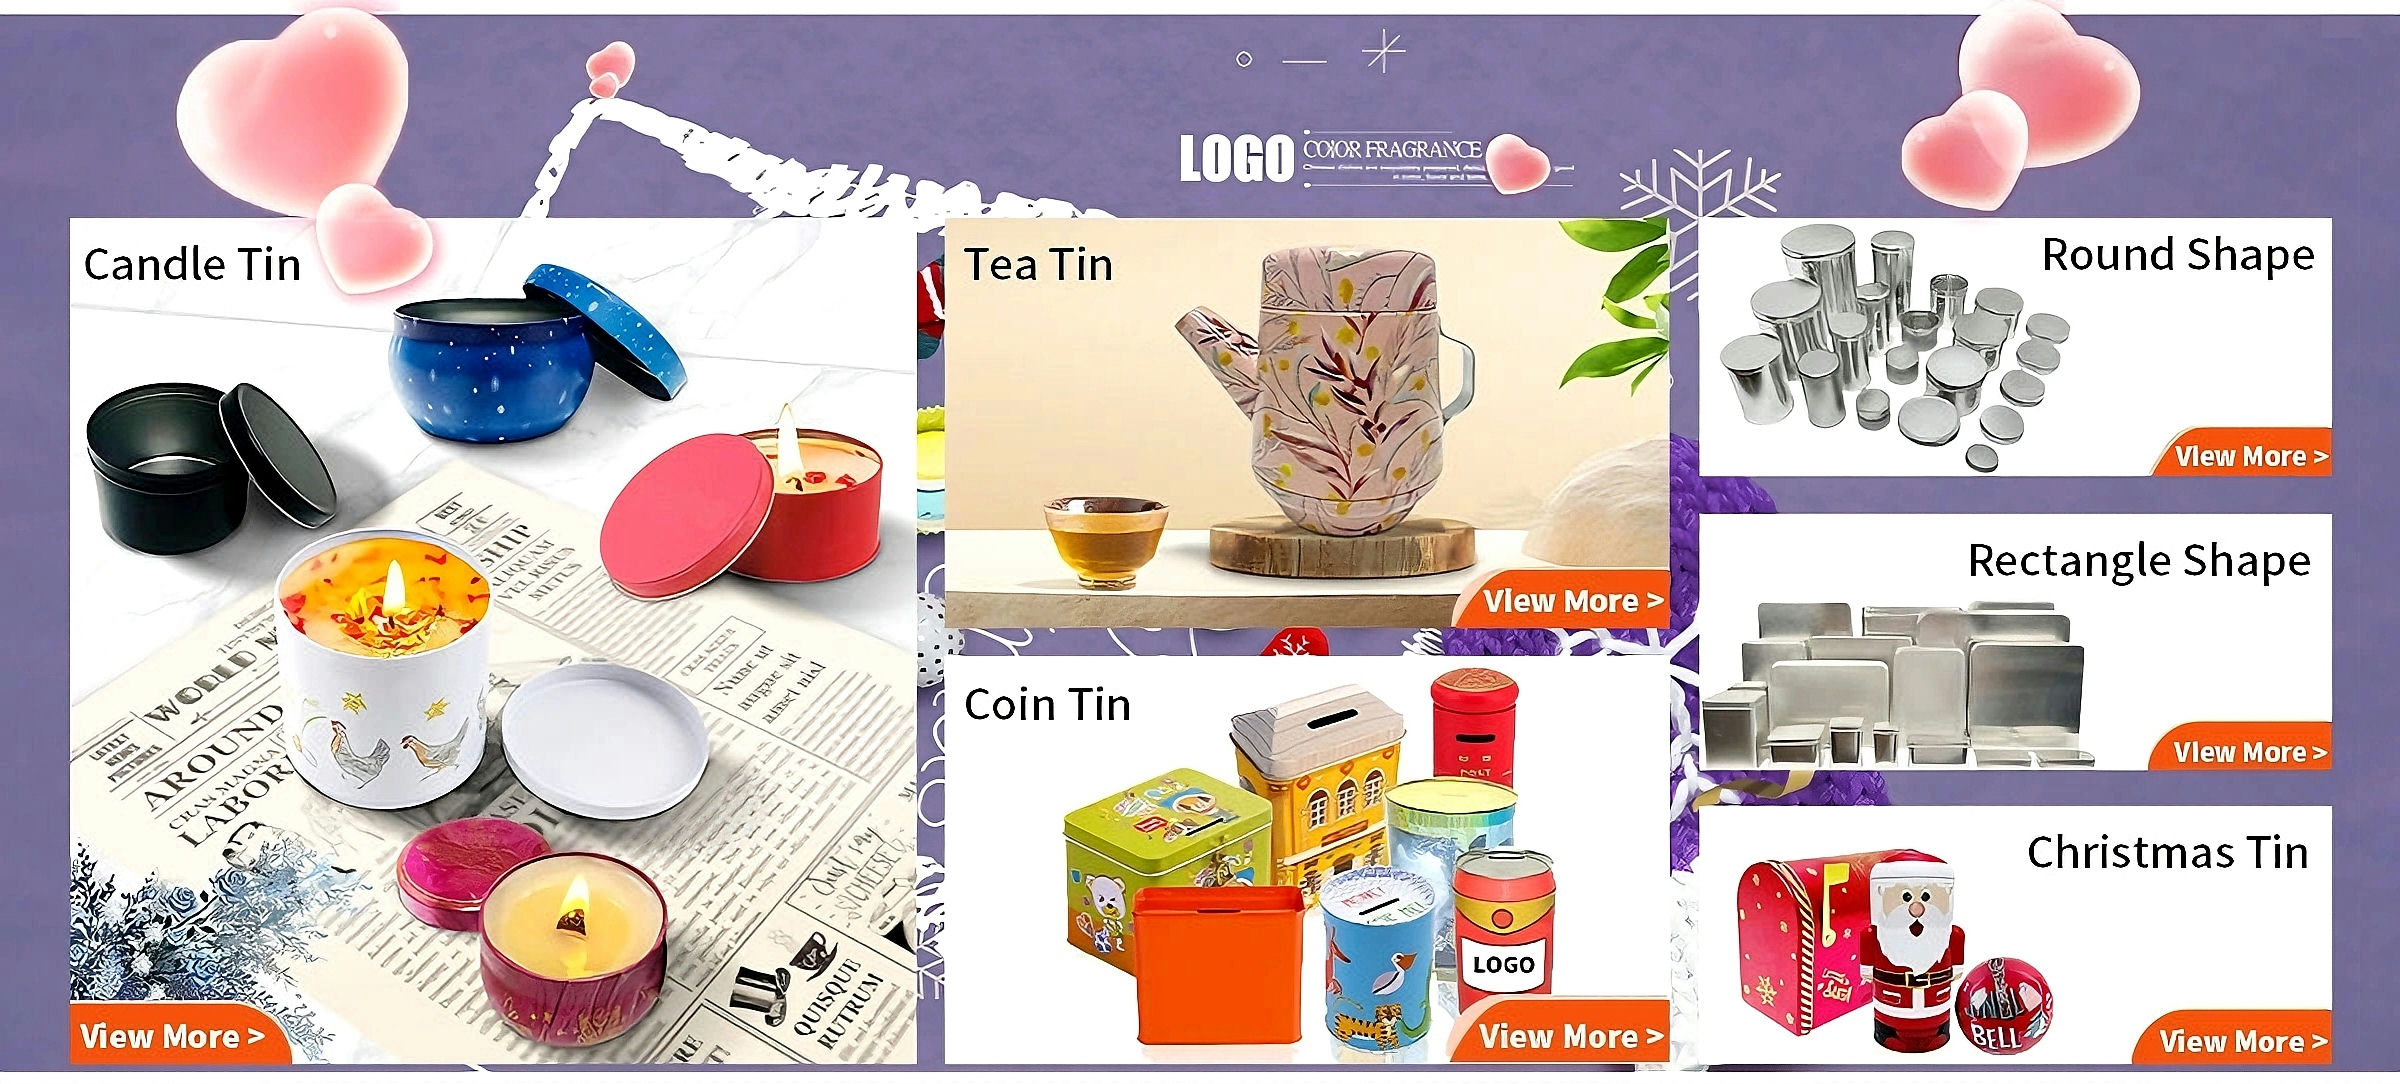
Tin metal is a popular choice for storage containers, decorative pieces, and vintage collectibles—think tin boxes for cookies, metal tins for candles. While tin is durable and resistant to rust, it can still accumulate dirt, tarnish. The good news is cleaning and your beloved tin boxes/metal tins is simple with gentle supplies you likely already have at home. Below is a clear, step-by-step guide to restore your tin items to their shiny best.
how to clean tin metal

In a world where we grab canned cookie, beans, and candy from supermarket shelves without a second thought, it’s easy to take the convenience of tin cans for granted. But have you ever wondered when this revolutionary food preservation method first began? Let’s dive into the history of tin cans and explore how they transformed the way we store and consume food.
when was food put into tin cans
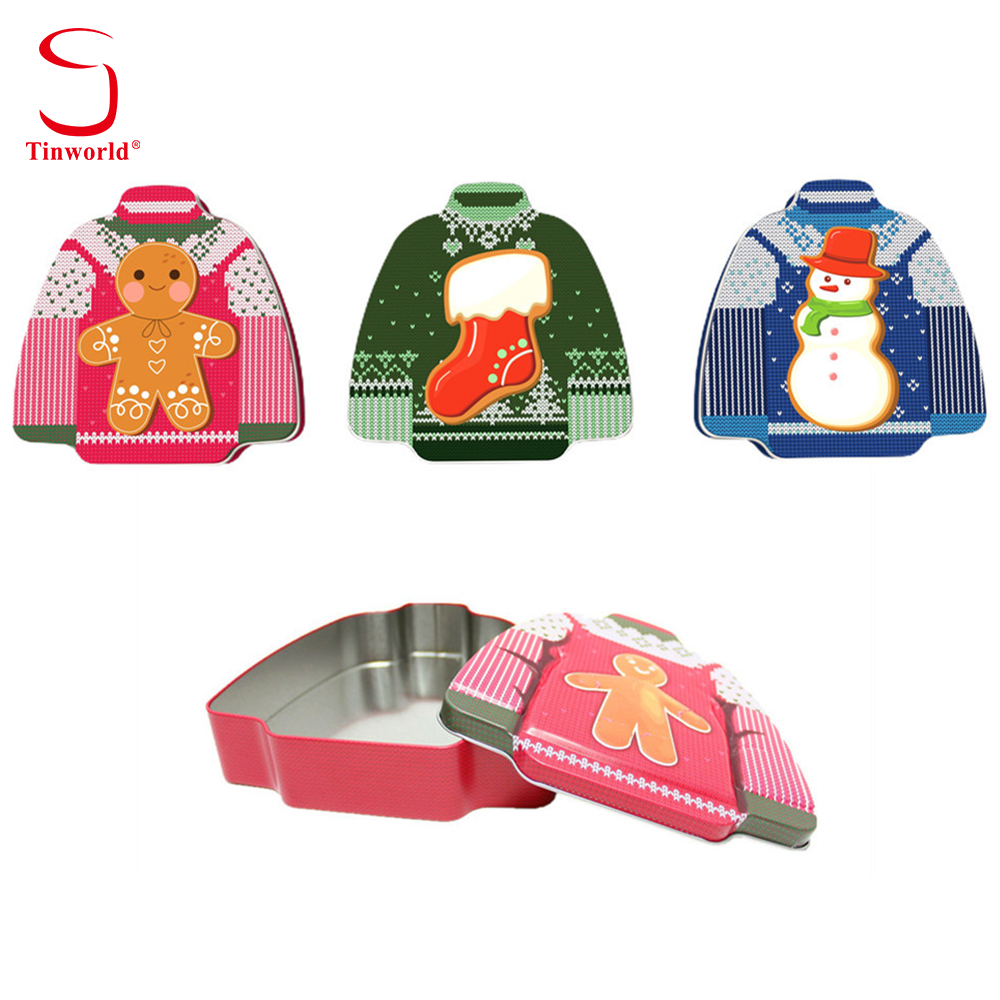
Whether you’re gifting homemade cookies for a holiday, birthday, or just to spread some joy, a beautifully wrapped cookie tin adds a special touch to your thoughtful gesture. In this guide, we’ll walk you through everything you need to know to achieve a polished, professional look.
how to wrap a cookie tin

In our daily lives, tin cans are ubiquitous—holding everything from canned coffee bean and tea, and even some food. As environmental awareness grows, many of us wonder: is this common packaging material recyclable? The short answer is yes, tin cans are highly recyclable, and their recycling process offers significant environmental and practical benefits. Let’s dive deeper into the world of tin can recycling, exploring why it matters, how it works, and the advantages of this versatile packaging.
is tin can recyclable