





how to wrap a cookie tin
author: Chen
2025-08-11
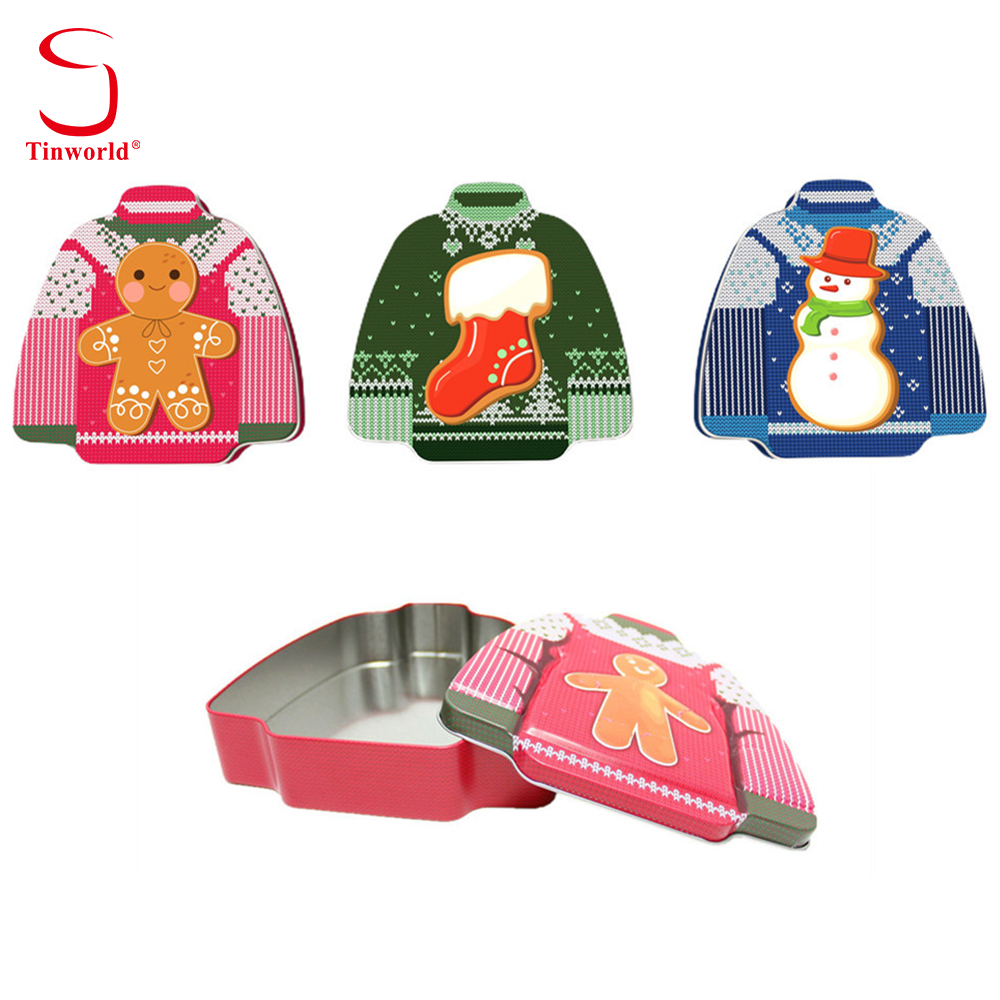
How to Wrap a Cookie Tin: A Step-by-Step Guide for Perfect Presentation


Whether you’re gifting homemade cookies for a holiday, birthday, or just to spread some joy, a beautifully wrapped cookie tin adds a special touch to your thoughtful gesture. Metal tins are a popular choice for storing cookies because they keep treats fresh and durable, but their rigid shape and metallic surface can make wrapping a bit tricky. Fear not! With the right materials and techniques, you can wrap a metal cookie tin like a pro. In this guide, we’ll walk you through everything you need to know to achieve a polished, professional look.
Why Metal Tins Deserve Special Wrapping Attention
Metal tins aren’t like soft gift boxes or flexible bags—their hard, smooth surfaces and often irregular shapes (think round, square, or rectangular with edges) require a bit more care when wrapping. Unlike paper boxes that can be easily folded around, metal tins don’t bend, so the wrapping paper needs to be measured precisely to avoid excess bulk or loose edges. Additionally, the metallic finish can show creases or unevenness more prominently, making a neat wrap essential for a visually appealing result. A well-wrapped metal tin not only looks impressive but also protects the tin from scratches during transit, ensuring your gift arrives in perfect condition.
Step 1: Gather Your Materials
Before you start wrapping, make sure you have all the necessary supplies on hand. Having everything ready will streamline the process and help you avoid mistakes. Here’s what you’ll need:
- Wrapping paper: Choose a sturdy, high-quality wrapping paper that’s thick enough to cover the tin without tearing. Matte or slightly textured papers work well, as they’re less likely to show fingerprints than glossy ones.
- Scissors: Sharp scissors are a must for clean cuts through the wrapping paper. Dull scissors can lead to jagged edges, which will ruin the neatness of your wrap.
- Tape: Opt for clear packing tape or double-sided tape. Double-sided tape is ideal for a seamless look, as it hides the tape under the paper.
- Ruler or measuring tape: To ensure accurate measurements of the wrapping paper, especially since metal tins have specific dimensions.
- Optional decorations: Ribbons, bows, gift tags, or even dried flowers to add a personal touch.
Step 2: Measure the Wrapping Paper for Your Metal Tin
The key to wrapping a metal tin neatly is getting the right measurements. Follow these steps to measure the paper correctly:
- Place the metal tin on a flat surface and lay the wrapping paper out in front of you, pattern side down.
- Center the tin on the paper. The paper should extend at least 2–3 inches beyond the height of the tin on both the top and bottom. This extra length will be used to fold over the ends.
- For the width, the paper should wrap around the tin with a 1–2 inch overlap. To check, pull one side of the paper around the tin until it meets the other side, then add the overlap. Mark this length with a pencil.
- Cut the wrapping paper along your marked lines. If you’re working with a round tin, you may need a slightly larger width to account for the curved edges.
Step 3: Wrap the Sides of the Metal Tin
Now it’s time to wrap the main body of the tin. Here’s how to do it smoothly:
- Lift the tin and fold one side of the wrapping paper over the curved or flat side of the tin, making sure it’s tight but not so tight that the paper tears.
- Secure the paper in place with a small piece of tape. If using double-sided tape, apply a strip along the edge of the paper before folding it over.
- Bring the opposite side of the paper around the tin, overlapping the first side by the 1–2 inches you measured earlier. Press firmly to secure the tape, ensuring there are no wrinkles or bubbles.
- Smooth out any creases with your hands, working from the center of the tin outward to the edges.
Step 4: Fold and Secure the Ends of the Tin
The ends of the metal tin (the top and bottom) are often the trickiest part, but with a little patience, you can get them looking crisp:
- Start with one end (either top or bottom). Press the excess paper against the end of the tin to create a neat fold along the edge where the side meets the end. This will form a triangle shape on either side of the tin.
- Fold one triangle over the end of the tin, tucking the point under the tin to hold it in place temporarily.
- Repeat with the other triangle, overlapping the first one slightly. Secure both triangles with tape. For a cleaner look, use double-sided tape under the folds.
- Smooth the folded end with your fingers to ensure there are no gaps or loose paper.
- Repeat the process for the other end of the tin.
Step 5: Add Decorative Touches to Elevate Your Gift
Once the tin is wrapped, it’s time to add those special details that make your gift stand out. Here are some ideas for decorating your wrapped metal tin:
- Ribbons and bows: Wrap a ribbon around the circumference of the tin and tie it into a bow. For a round tin, a diagonal ribbon across the top adds a charming touch. Satin or grosgrain ribbons work well with metal tins, as their texture contrasts nicely with the smooth surface.
- Gift tags: Attach a handwritten gift tag to the ribbon or directly to the wrapping paper. You can even punch a hole in the tag and thread it through the ribbon for a cohesive look.
- Embellishments: Glue on dried flowers, small pinecones (for a holiday theme), or decorative stickers that match the occasion. Just be sure the adhesive won’t damage the wrapping paper or the tin itself.
- Personalized touches: If the tin has a flat surface, you can write a short message directly on the wrapping paper with a metallic marker for an extra personal feel.
Final Tips for Wrapping Metal Tins Like a Pro
- Avoid thick wrapping paper for small tins: If you’re wrapping a tiny metal tin, very thick paper can make it bulky and hard to fold neatly. Opt for a lighter-weight but still sturdy paper instead.
- Test the tape first: Some strong tapes can leave residue on metal tins, especially if left on for a long time. Test a small piece of tape on the bottom of the tin before using it on the wrapping paper to ensure it won’t damage the tin’s finish.
- Practice makes perfect: If you’re new to wrapping metal tins, don’t worry if your first attempt isn’t flawless. Take your time, and with a little practice, you’ll get the hang of measuring and folding for a smooth result.
Wrapping a metal cookie tin doesn’t have to be a daunting task. With the right materials, precise measurements, and a few simple folding techniques, you can create a beautifully wrapped gift that’s sure to impress. Whether it’s for a friend, family member, or colleague, a wrapped metal cookie tin filled with homemade treats is a heartfelt gesture that combines practicality with charm.
when was food put into tin cans
is tin can recyclable
Related Article
Tin metal is a popular choice for storage containers, decorative pieces, and vintage collectibles—think tin boxes for cookies, metal tins for candles. While tin is durable and resistant to rust, it can still accumulate dirt, tarnish. The good news is cleaning and your beloved tin boxes/metal tins is simple with gentle supplies you likely already have at home. Below is a clear, step-by-step guide to restore your tin items to their shiny best.
how to clean tin metal

In a world where we grab canned cookie, beans, and candy from supermarket shelves without a second thought, it’s easy to take the convenience of tin cans for granted. But have you ever wondered when this revolutionary food preservation method first began? Let’s dive into the history of tin cans and explore how they transformed the way we store and consume food.
when was food put into tin cans
In our daily lives, tin cans are ubiquitous—holding everything from canned coffee bean and tea, and even some food. As environmental awareness grows, many of us wonder: is this common packaging material recyclable? The short answer is yes, tin cans are highly recyclable, and their recycling process offers significant environmental and practical benefits. Let’s dive deeper into the world of tin can recycling, exploring why it matters, how it works, and the advantages of this versatile packaging.
is tin can recyclable
If you’ve ever baked a batch of cookies and wondered how to make them last beyond a day or two, you’ve probably considered storing them in a cookie tin. Those shiny, decorative containers are a staple in many kitchens, but do they actually live up to their reputation for keeping cookies fresh? Let’s dive into the science and practicality of using tin cans for cookie storage.
do cookie tins keep cookies fresh